Chocolate Chip Fudge Brownies
Highlighted under: Oven-Made Sweets
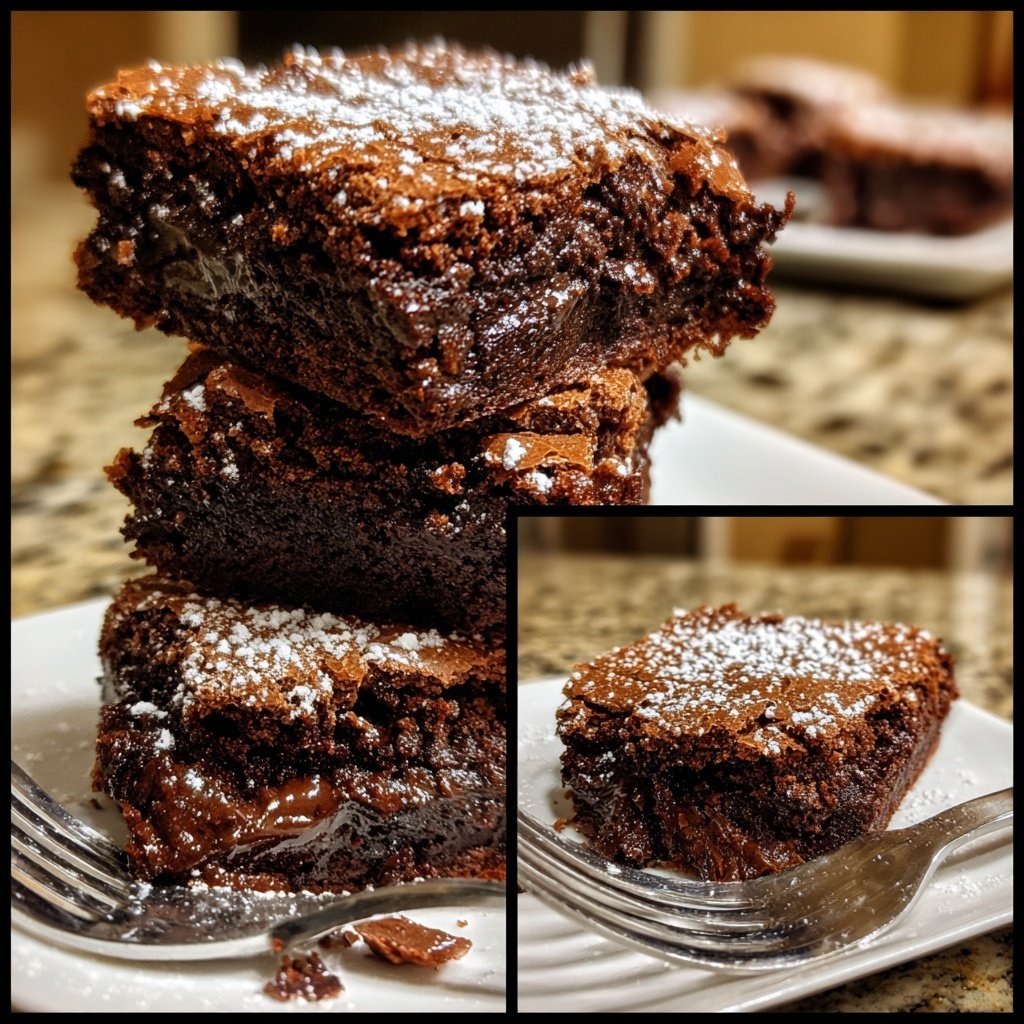
I absolutely love making chocolate chip fudge brownies, as they are my go-to dessert for any occasion. The rich, gooey chocolate paired with the soft texture makes them irresistibly delicious. Whenever I bake these brownies, the kitchen fills with mouthwatering aromas that draw everyone in, and each bite feels like a decadent treat. They're an easy recipe, perfect for sharing with friends and family, or even enjoying all by myself on a cozy evening. Trust me, once you try them, you won't want to bake anything else!
Baking chocolate chip fudge brownies is more than just a task; it's a joyful experience. I remember the first time I decided to experiment with different chocolate ratios. Adding extra cocoa made the brownies richer, while using a mix of semi-sweet and dark chocolate chips created a depth of flavor that my family couldn't resist. Each batch feels like a new adventure in the kitchen.
I often pair these brownies with a scoop of vanilla ice cream, which complements the fudge beautifully. To avoid underbaking them, I always keep an eye on the timer and do the toothpick test. Just a few crumbs sticking to the toothpick indicate perfect fudginess!
Why You Will Love These Brownies
- Intensely rich chocolate flavor that satisfies any sweet tooth
- Fudgy texture that creates a perfect melt-in-your-mouth experience
- Ideal for sharing at parties, or enjoying as a midnight snack
The Perfect Fudgy Texture
Achieving the ideal fudgy texture in your brownies can be a game-changer for any dessert lover. The key lies in the balance of wet and dry ingredients. Using 1 cup of unsalted butter ensures a rich base that not only adds moisture but also provides a luxurious mouthfeel. When you're mixing in the egg and sugar mixture, be cautious not to over-mix after adding the dry ingredients. This helps to prevent the brownies from becoming cakey instead of fudge-like.
For the ultimate fudgy consistency, allow your brownies to cool slightly in the pan before cutting. If you attempt to slice them too soon, they might fall apart because the structure hasn’t set completely. Allowing at least 30 minutes to cool will not only help with cutting but also enhance the flavor as they firm up, melding the rich chocolatey taste even more.
Ingredient Substitutions and Alternatives
If you’re in a pinch and don’t have unsalted butter, you can substitute with an equal amount of coconut oil or even vegetable oil. However, this may slightly change the flavor profile; coconut oil can add a subtle hint of coconut which many find delightful. You can also replace granulated sugar with light brown sugar if you want to add a touch of caramel flavor; the moisture from the brown sugar will give you a slightly denser brownie.
For a gluten-free option, you can use a 1-to-1 gluten-free baking flour in place of all-purpose flour. This variant usually contains a mix of different flours and starches that closely mimic all-purpose flour's properties while maintaining moisture and chew. Just be aware that some gluten-free blends can absorb more liquid, so you may want to slightly reduce the amount of flour if you notice a very thick batter.
Ingredients
Brownie Ingredients
- 1 cup unsalted butter
- 2 cups granulated sugar
- 4 large eggs
- 1 teaspoon vanilla extract
- 1 cup all-purpose flour
- 1 cup cocoa powder
- 1/2 teaspoon salt
- 1 cup chocolate chips
Make sure all ingredients are at room temperature for best results.
Instructions
Preheat Oven
Preheat your oven to 350°F (175°C) and grease a 9x13 inch baking pan.
Melt Butter
In a saucepan, melt the butter over medium heat until completely liquefied.
Mix Ingredients
Remove the saucepan from heat and stir in the sugar, followed by the eggs and vanilla extract until well combined.
Add Dry Ingredients
Sift in the flour, cocoa powder, and salt; mix just until combined. Fold in the chocolate chips.
Bake
Pour the batter into the prepared pan and bake for 25 minutes, or until a toothpick inserted comes out with a few moist crumbs.
Cool and Serve
Allow the brownies to cool in the pan before cutting them into squares and enjoying!
Enjoy warm, or store in an airtight container for up to a week.

Pro Tips
- For an extra touch, add nuts or swirl in some peanut butter before baking for layered flavor.
Storage and Make-Ahead Tips
These brownies can last up to a week when stored properly! To maintain their fudgy texture, place them in an airtight container at room temperature. If you wish to keep them for longer, consider freezing them. Cut the cooled brownies into squares, layer them between pieces of parchment paper in a freezer-safe container, and they can last up to three months. Just be sure to let them thaw at room temperature before enjoying.
If you're prepping for an event, you can make the brownie batter ahead of time and refrigerate it for up to 24 hours before baking. This method allows the flavors to deepen, giving you a richer taste. Just remember that if the batter is cold from the fridge, it may take a few extra minutes to bake, so keep an eye on it and check for doneness using the toothpick method.
Serving Suggestions
For an extra touch of indulgence, serve your brownies warm with a scoop of vanilla ice cream and a drizzle of chocolate or caramel sauce. This classic pairing elevates the dessert experience, especially if you're entertaining guests. You can also sprinkle some sea salt on top just before serving to enhance the chocolate flavor wonderfully.
If you want to get creative, try adding your favorite nuts or even a swirl of peanut butter into the batter before baking. Walnuts or pecans add a nice crunch and depth; just keep the total mix-ins to about a cup to maintain that fudgy texture. Swirling in peanut butter can give a delightful contrast to the chocolate, creating a deliciously rich treat that is sure to impress.
Questions About Recipes
→ Can I use a different type of chocolate?
Yes, you can mix different types of chocolates, like milk or dark chocolate chips, to suit your preferences.
→ How do I store leftover brownies?
Store them in an airtight container at room temperature for up to a week, or freeze for longer storage.
→ Can I make these brownies gluten-free?
Absolutely! Use a gluten-free flour blend in place of all-purpose flour.
→ What can I serve with brownies?
Serve with a scoop of ice cream, a dollop of whipped cream, or fresh berries for a delightful dessert.
Chocolate Chip Fudge Brownies
What You'll Need
Brownie Ingredients
- 1 cup unsalted butter
- 2 cups granulated sugar
- 4 large eggs
- 1 teaspoon vanilla extract
- 1 cup all-purpose flour
- 1 cup cocoa powder
- 1/2 teaspoon salt
- 1 cup chocolate chips
How-To Steps
Preheat your oven to 350°F (175°C) and grease a 9x13 inch baking pan.
In a saucepan, melt the butter over medium heat until completely liquefied.
Remove the saucepan from heat and stir in the sugar, followed by the eggs and vanilla extract until well combined.
Sift in the flour, cocoa powder, and salt; mix just until combined. Fold in the chocolate chips.
Pour the batter into the prepared pan and bake for 25 minutes, or until a toothpick inserted comes out with a few moist crumbs.
Allow the brownies to cool in the pan before cutting them into squares and enjoying!
Extra Tips
- For an extra touch, add nuts or swirl in some peanut butter before baking for layered flavor.
Nutritional Breakdown (Per Serving)
- Calories: 380 kcal
- Total Fat: 26g
- Saturated Fat: 15g
- Cholesterol: 195mg
- Sodium: 85mg
- Total Carbohydrates: 32g
- Dietary Fiber: 3g
- Sugars: 24g
- Protein: 6g